
This week I have had the enormous treat of learning a new skill with my dear friend Rachel.
She taught me the amazing art of needle-felting and here is how I made this adorable angel from nothing other than felt, a felting needle and a foam pad.
If you have never practiced the art of needle felting then I urge you to immediately. It is cheap and so satisfying!

Begin by rolling a section of felt into a round shape similar size to a ping-pong ball. Roll as tightly as you can.

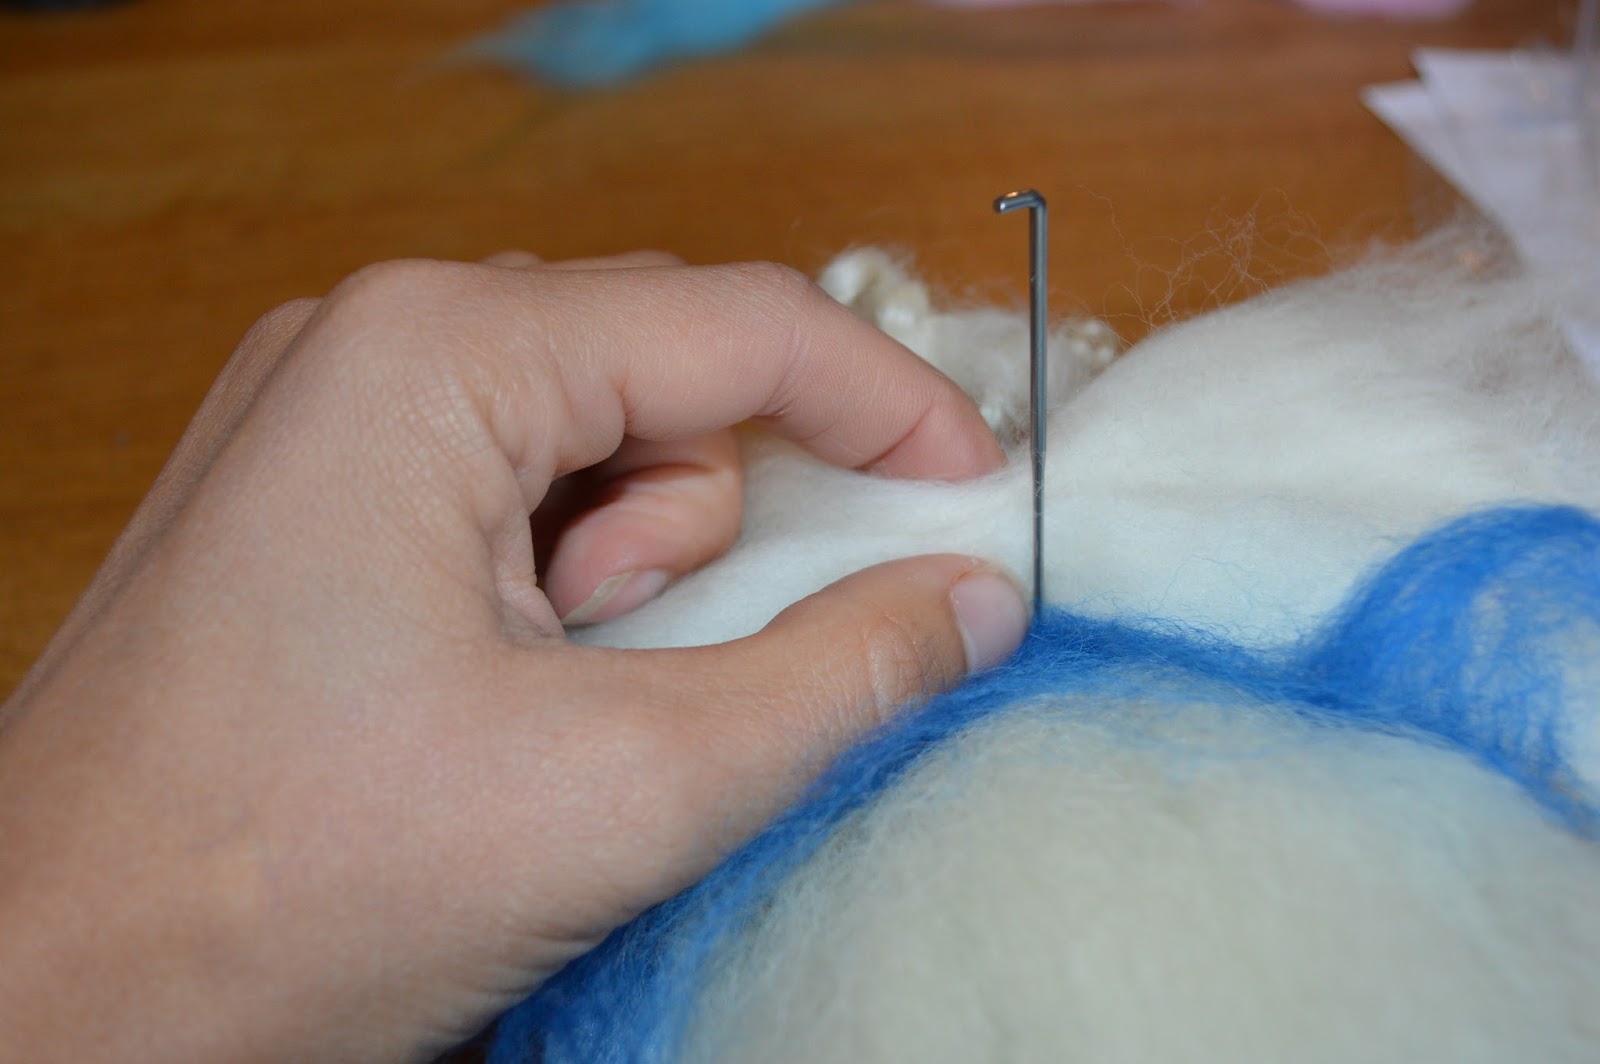
Stab it all over the ball and over the course of ten minutes the ball of felt will turn firm as it blends together. Do make sure you stab it all over the ball which will ensure an even blend.

Once the head is hard you are ready to cover it with the skin coloured wool.
Whenever you use felt you should never use scissors but gentle pull the wool to separate it into the lengths and amounts that you need.


Wrap a small amount of wool around the middle of the section of skin-coloured wool. You should wrap it tightly which will bind it.

Once you have done this lay it over the top of the ball of wool and stroke the wool over the top. You should ensure the wool covers the ball completely and the tie at the bottom with another small strand of wool.


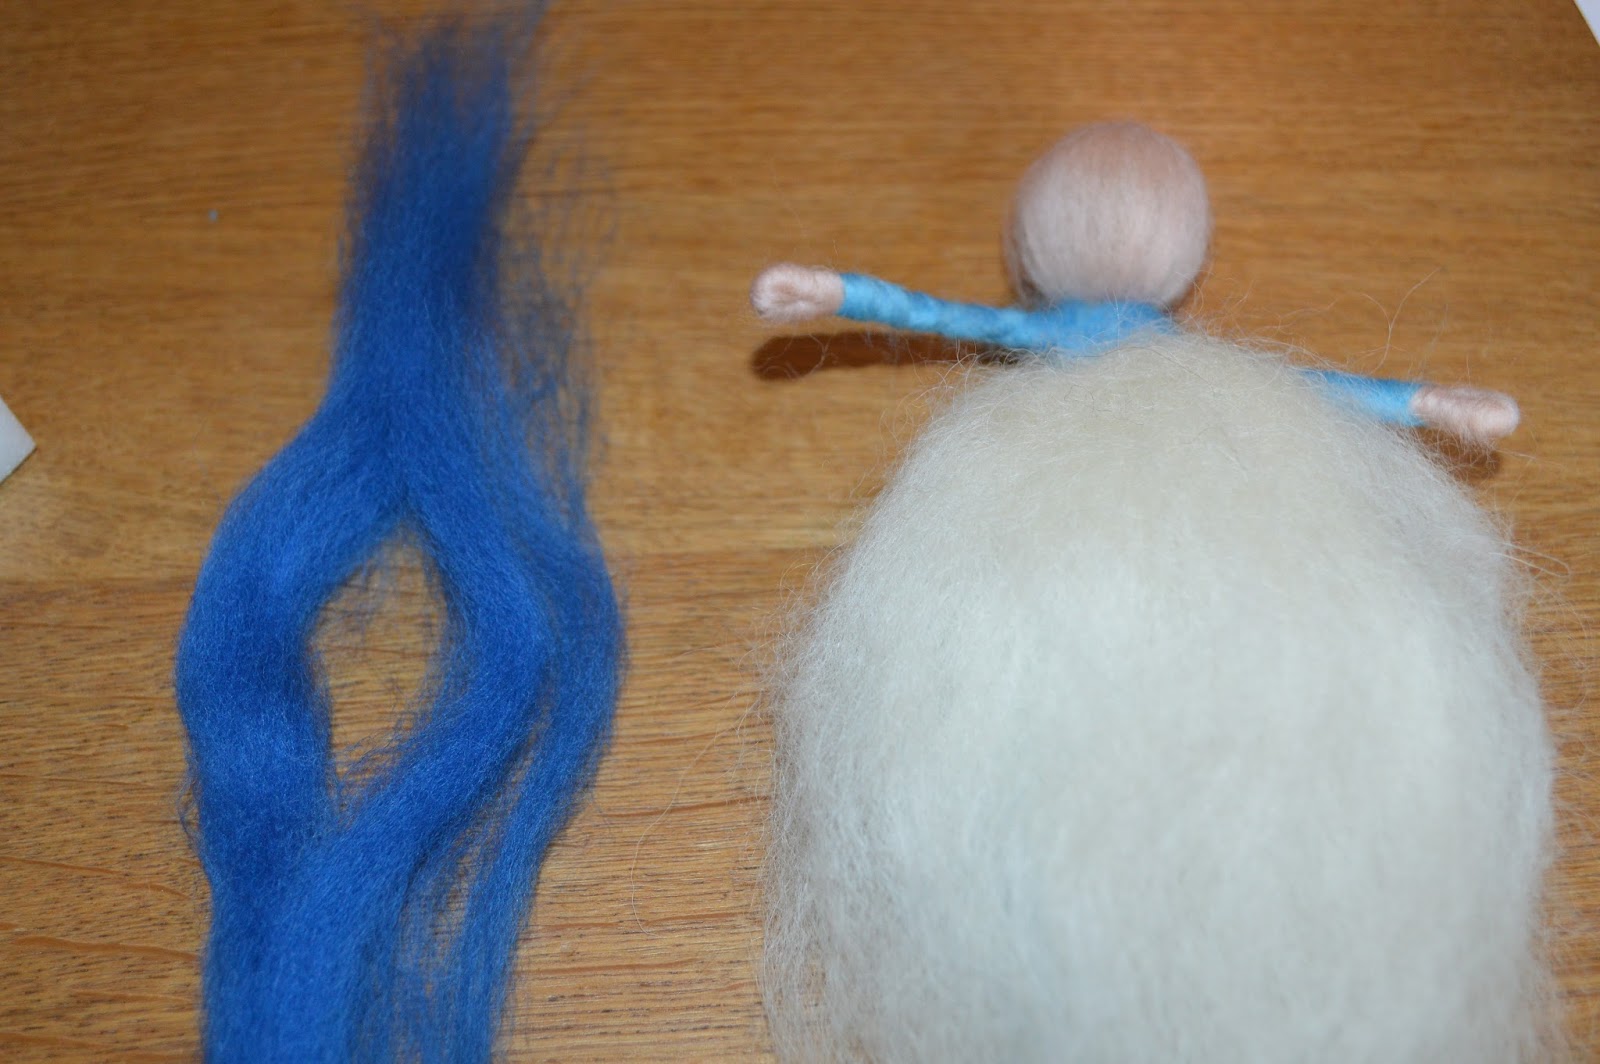
Now to attach the arms to the head. With the arms slightly off centre hold tightly to the neck of the angel and wrap it completely around the neck of the head so you are left with two arms the same length.

 shoulders and arms of your angel. This will build up the body but also hold the arms in place.
Tie a piece of felt around the waist-band

 We are ready to begin dressing our angel. Begin with the sleeves by wrapping the colour you want for her dress, blue in my case, from her tummy over her shoulder and then down the opposite arm.
Do the opposite on the other arm so both are now covered.

Remember to stab evenly all over the waist-band on the front and back of the angel.

 Fold the felt in the middle and hold it in your hand over your finger and gently make a hole large enough for the angel to fit through.
Now gentle sit your angel in the white skirt, pull it down from front and back and shape into the position you want.

Do always be careful when stabbing the needle in. It is extremely sharp and can be painful if your finger gets in the way!
Repeat this process with another colour to make an overlay on the skirt.
This time though the felt will go over head of the angel and rest on her shoulders (demonstrated with the blue felt). You will need less then the white skirt.

 Use a small amount of the dark blue to wrap around the angel as a belt.
Unwrap the blue felt gently to create a skirt that overlaps the all around the angel's skirt.

Choose some lovely felt that will become your angel's hair. Felt that can be used as hair comes in lots of style but this delightful curly felt won my heart.
Use the felting needle to stab it into the ball. It is so satisfying (so long as you don't give too much consideration to stabbing an angel in the head!) to style the hair into a position that you like and know it will stay there.

I have enjoyed every part of this craft, but putting hair onto my little angel has suddenly made me love this little beauty! It has filled her with character.

The wings are next. Use a length of felt and pinch in the middle.
 Use the felting needle to pin the back into place. You will need to turn the angel onto her front and lay her on the foam. Stab the wings along the centre into the body. You can see from the photo below how I have pinned it along the central line.
Shape your wings as you please.

She is photographed with clear cotton that she threads through the back of the head to the top and then back through the top to the back of the head and knot in place.
This creates a loop on the top to hang your angel.

I have LOVED this project. It has been a completely new skill to learn and such a fun, satisfying and moderately cheap craft.
Thank you, Rachel, for helping make this beautiful craft.
No comments:
Post a Comment